My Lazy-Girl Lip Routine That Makes Any Look More Done
There is something kind of hilarious about the fact that I can do a whole face of makeup, fix my hair, put on a cute outfit, and still feel slightly unfinished until I put something on my lips.
I also used to think lip routines had to be precise and high-maintenance, like you needed a liner, a lipstick, a gloss, a special brush, and the patience of a saint, and I am here to tell you that is not the life I’m living on a random workday in Austin.
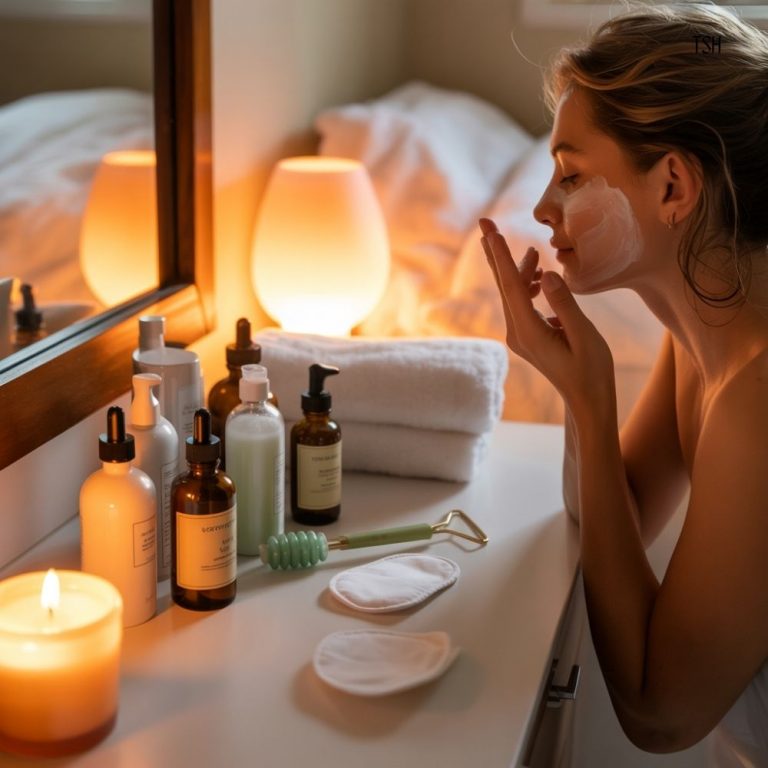
So I built a lazy-girl lip routine that is fast, low effort, and still makes any look feel more done, even when I’m wearing minimal makeup or I’m running out the door with wet hair and a coffee I will absolutely spill on myself at some point.
It uses simple steps, it relies on products you probably already have, and it works because it focuses on comfort and vibe, not perfection.
Charlie’s Lazy-Girl Lip Philosophy
My philosophy is simple: comfort first, because if a lip product feels annoying, I will not wear it, and then it becomes a dusty “special occasion” item that never gets used.
I also want my lip routine to be flexible, meaning I can do a very minimal version for errands and a slightly stronger version for dinner plans using the same basic steps.
Most importantly, I want it to be forgiving, because I am not redoing my whole mouth in a parking lot, and I do not want a lip color that punishes me for eating, drinking, or existing.
This routine is built around three core goals: smooth lips, soft definition, and easy color.
The Lazy-Girl Lip Routine (3 Steps, 3 Minutes)
Step 1: Smooth Your Lips in the Least Dramatic Way Possible
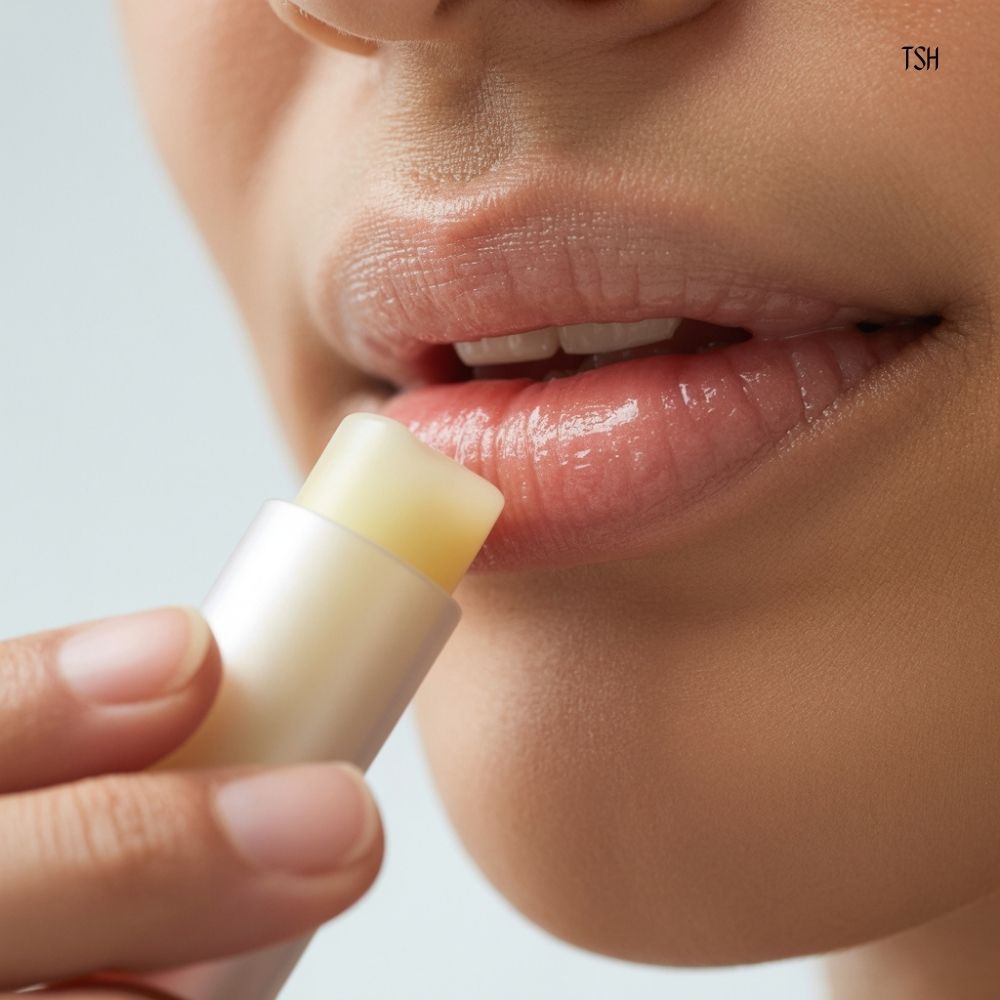
If your lips are dry, no lip product looks good, and that is not a personal failure, it is just physics. The best lip routine starts with a quick smoothing step, and it does not have to be fancy.
On most days, I do the simplest thing: I apply lip balm and let it sit while I do the rest of my makeup or get dressed. Then, right before I apply color, I wipe off the excess with a tissue. This sounds small, but it makes a huge difference.
If my lips are flaky, I do a gentle exfoliation. My lazy method is using a damp washcloth and lightly buffing for about ten seconds after brushing my teeth. You do not need to scrub aggressively, because aggressive scrubbing is how you end up irritated.
Charlie tip that actually helps: if your lips get dry often, apply a thicker balm or simple occlusive lip product at night, because the easiest way to have nice lips in the morning is to treat them before you fall asleep.
Step 2: Create Soft Definition Without Doing “Full Liner”
This is the part that makes your lip look instantly more polished, even if you keep the color sheer, and it is also the part I used to skip because I thought lip liner had to be perfect. It does not.
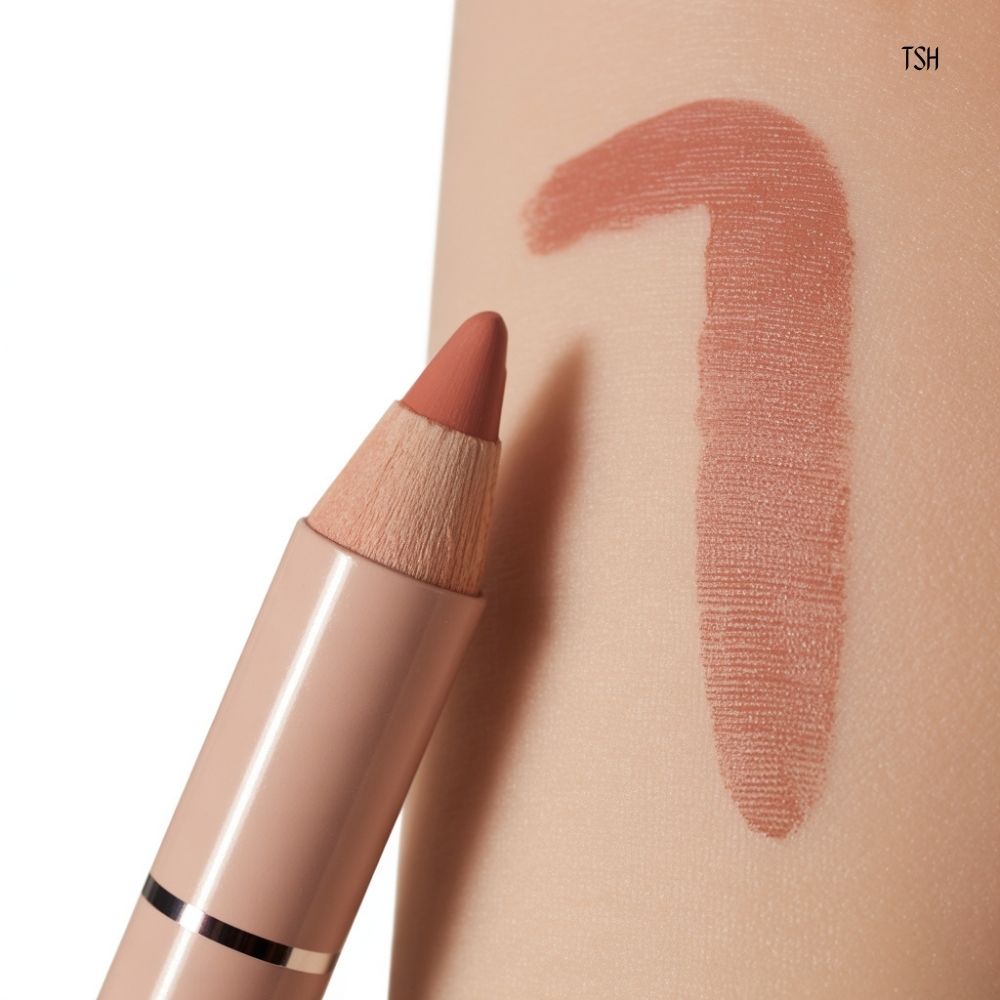
My lazy method is “soft lining,” which means I use a neutral liner close to my natural lip color, tracing only on the center of the top lip and the center of the bottom lip, then I blend it inward with my fingertip.
If you do not own liner, you can fake this step using a tiny amount of bronzer or neutral eyeshadow on a small brush, just lightly at the outer edge of the lips, then blend, because the goal is subtle depth, not a crisp line.
Where I focus, because it matters: I focus on the cupid’s bow area and the lower lip center, because those two spots make the lips look more defined and balanced, and they make the whole mouth look “finished” even when the color is minimal.
Step 3: Add Color in a Way That Matches Real Life
For the lazy-girl routine, I pick lip color that I can apply without a mirror and still look good, because if it requires precision, it will not happen on busy days. My go-to options are tinted balm, creamy lipstick patted on, or a gloss that has a little tint, because these are forgiving and comfortable.
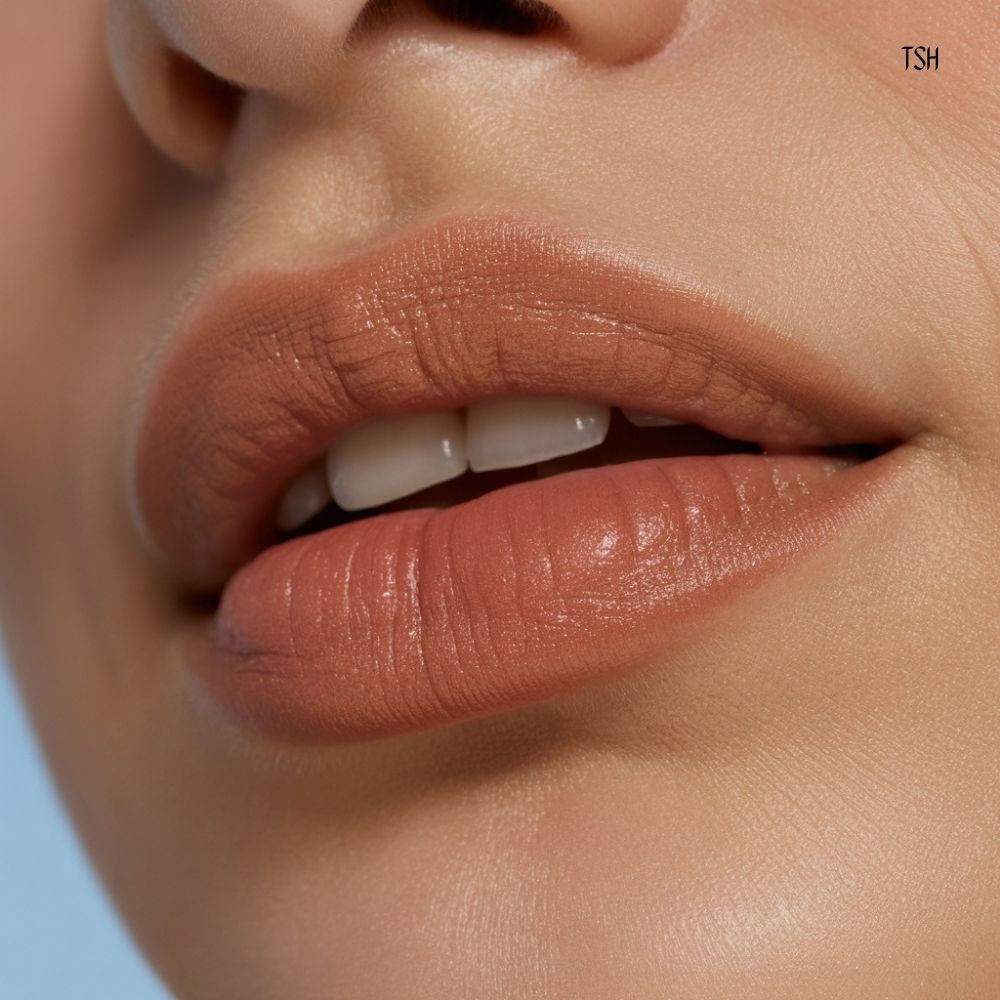
My favorite method for an everyday “done” look is the dab-and-blend, because it looks like a natural flush instead of a heavy layer. I tap the color onto the center of my lips, then I press my lips together and blend the edges with a fingertip.
If I want it to last longer without becoming a high-maintenance situation, I do one thin layer, blot with a tissue, then do a second thin layer, because building in light layers helps longevity without feeling thick.
The Three Lip “Modes” I Use for Different Days
Mode 1: The Errand Lip (Barely There, Still Better)
This is when I use a hydrating tinted balm or sheer lipstick, and I do not stress about it. It looks fresh, feels comfortable, and gives that “I’m alive” effect in ten seconds.
Mode 2: The Workday Lip (Polished but Not High Maintenance)
This is when I do soft lining plus a creamy lipstick dabbed on, because it looks more structured, but still feels natural. A neutral pink, rosy nude, or soft berry shade works well here, because it makes you look more awake without screaming “statement lip.”
Mode 3: The Dinner Lip (More Impact, Same Routine)
This is when I do a little more liner, then I add a deeper shade, and I keep the edges soft so it still looks wearable. The trick is choosing a shade that makes you feel confident, not a shade that makes you worried all night about your teeth or your lipstick line.
The Quick Fixes That Save You Midday
Even the best lip product fades, and that is normal, so here is how I touch up in real life without making it a whole thing.
If my lips feel dry, I apply a little balm, wait a few seconds, and then tap color back on the center, because that keeps the edges from getting messy. If the color fades unevenly, I just blend the edges with a fingertip and add a fresh dab of color.
If you want a lip routine that lasts through coffee and lunch, keep the middle of the lips more saturated than the edges, because the center fades first, and when the fade happens, it looks natural instead of patchy.
Common Mistakes That Make Lips Look Less “Done”
The biggest mistake is applying lip color over a thick layer of balm, because it slides and looks uneven quickly. Another mistake is using a liner that is too dark or too warm compared to your lip color, because it can look harsh and make the routine feel high-maintenance.
The third mistake is trying to make a bold lip happen on a day when you cannot touch up, because that is how you end up stressed about your mouth instead of enjoying your day.
Soft, blended edges are your friend, especially in heat, because they look natural and they fade better.
Final Thoughts
This lazy-girl lip routine works because it is simple, repeatable, and built for real life, and it gives you the biggest “put together” payoff for the least amount of effort.
When your lips look smooth and slightly defined, your whole face reads as more polished, even if the rest of your makeup is minimal, and once you get the steps down, you can do it on autopilot in a couple minutes.