One Eyeshadow Stick, Three Looks: Work, Errands, Dinner
I love the idea of eye makeup in theory, but then I remember I live in real life, where I don’t always have time to sit at my mirror blending three shades like I’m auditioning for a beauty tutorial.
Most days I need my makeup to be quick, wearable, and forgiving, especially in Austin where heat and humidity are always lurking like they have a personal grudge. That is exactly why eyeshadow sticks became my secret weapon, because they are basically cheat codes.
With one eyeshadow stick, you can look put together in under five minutes, and you can adjust the vibe depending on what your day turns into, because many days start as “work and errands” and somehow end as “wait, are we going to dinner now?”
This post is my exact method for using one eyeshadow stick to create three different looks, and it is lazy-girl-friendly. You do not need special brushes, you do not need perfect technique, and you definitely do not need a whole palette.
Choosing the One Stick That Can Do All Three Looks
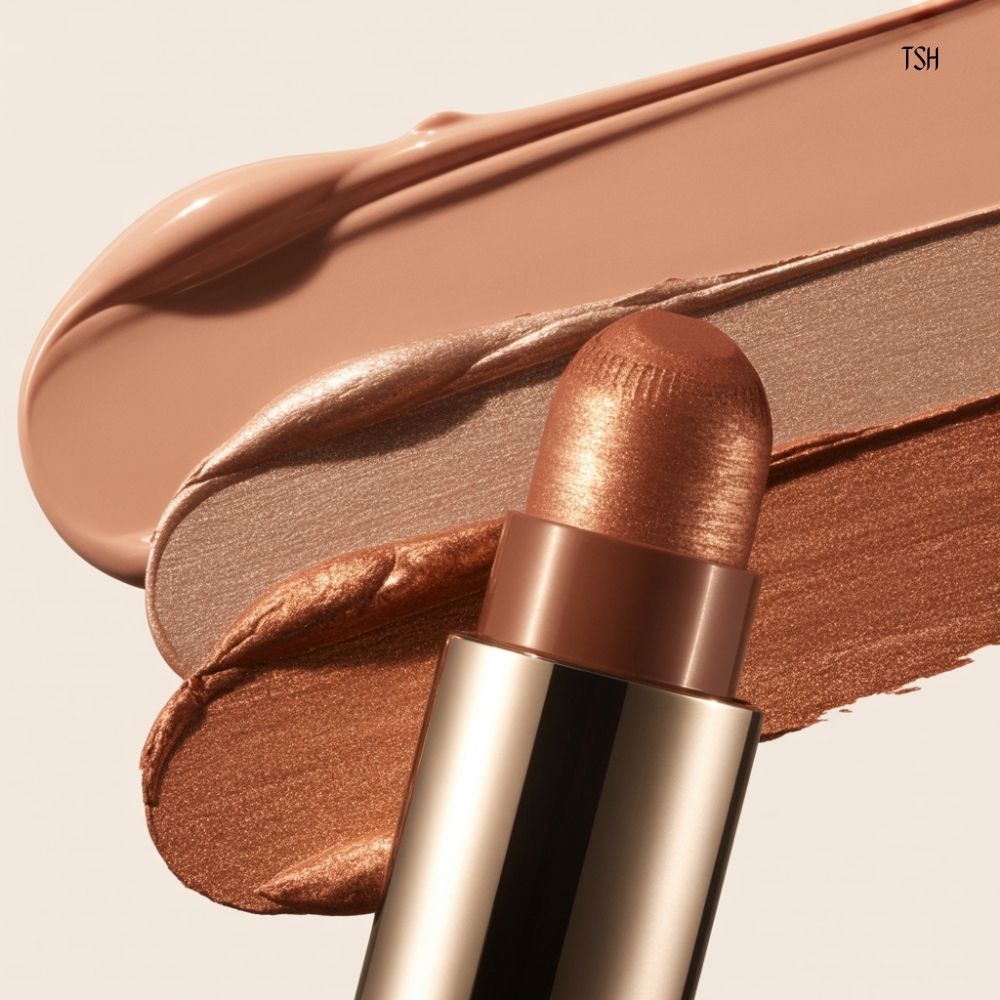
If you want one stick that can work for work, errands, and dinner, the shade matters. My easiest, most versatile shades are a soft bronze, taupe, warm brown, or rosy-brown, because they can look subtle during the day and build into something deeper at night.
If you choose something too sparkly or too dark, it can be harder to make it work-appropriate, and if you choose something too pale, it can disappear and not give enough definition.
A satin or soft shimmer finish is my personal sweet spot because it gives dimension without looking glittery in sunlight. Matte can also work, especially if you prefer a more natural look, but I find satin is the easiest for creating that “awake” effect.
You can do all of this with your fingers, and I do it that way most of the time, but if you want a tool, a small fluffy brush is nice for softening the edges. The key is not having a complicated setup, because the moment you need five brushes, the whole one-stick concept collapses.
I also like to have a clean cotton swab nearby, because it is the easiest way to clean up an edge or lift product if you apply too much.
The Base Rule That Makes This Last Longer in Heat
If you have oily eyelids or your shadow tends to crease, do this one thing before any of the looks: tap a tiny bit of translucent powder or setting powder over your eyelids, especially in the crease area.
It gives the stick something to grip, and it helps prevent slipping. You do not need a separate eye primer for this routine, because we are keeping it simple, and powder works surprisingly well as a budget-friendly base.
If your eyelids are dry, you can skip powder and just apply the stick in thin layers, because too much powder can look dry on some people.
Look 1: The Work Look (Polished, Soft, and Not Too Much)
This is the look I do when I want to look awake and put together without looking like I’m going out. It is subtle definition, soft dimension, and it works with any outfit.
How I Do It
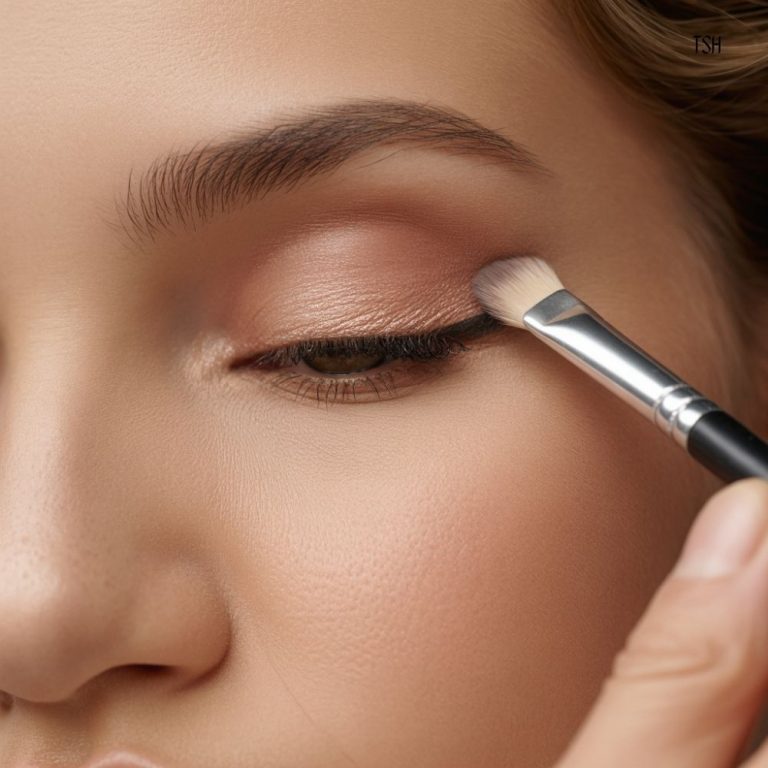
I swipe the eyeshadow stick directly on the lid, staying mostly from the lash line to just above the crease, and I focus the color on the outer half of the lid because that lifts the eye and looks more natural.
Then I immediately blend the edges with my fingertip using small tapping motions, because tapping keeps the product in place while softening the line.
If I want it a little more defined, I run a tiny bit of the stick along the upper lash line and blend it with my finger, which gives that “soft liner” effect without needing eyeliner.
The Workday Finish
I keep the edges soft and slightly lifted, and I make sure the color is lighter near the inner corner and deeper near the outer corner. Then I add mascara and brush through brows, and that is usually enough to look like a functioning adult.

Look 2: The Errands Look (Fresh, Easy, and Heat-Friendly)
Errands are when I want makeup that looks good even if I sweat a little, even if I’m in and out of stores, and even if I’m wearing sunglasses half the time. This look is more lived-in and effortless, which is perfect for daytime.
How I Do It
I apply the stick closer to the lash line and keep it more concentrated, then I blend upward softly so it looks like a wash of color instead of a full eyeshadow moment. I also run a tiny bit under the lower lash line, just on the outer third, and blend it quickly.
This is the look that makes you look “cute but casual,” and it pairs well with a tinted lip balm and blush, which is basically my errands uniform.
The Errand Finish
If I know I’m going to be outside, I keep the product thin because thick layers are more likely to crease in heat. I also avoid glitter, because glitter plus sweat can get weird fast.
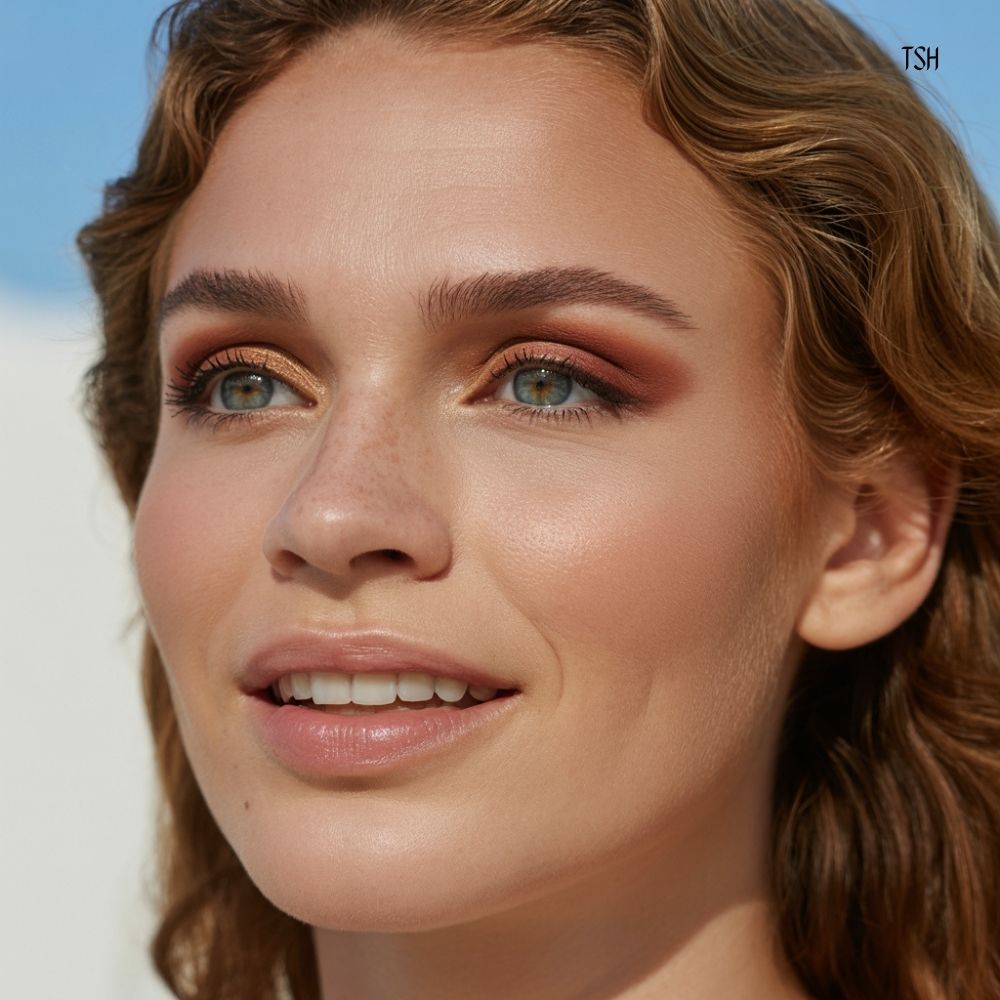
Look 3: The Dinner Look (Smoky, Elevated, Still One Product)
This is where the eyeshadow stick really shines, because you can build it up without needing extra shades. The dinner look is deeper, more defined, and gives you that “I changed my makeup” vibe even if you only spent two extra minutes.
How I Do It
I start by applying the stick to the outer corner and into the crease, then I add a little more on the lid, focusing on the outer half again. The key is layering, because one thick swipe can get messy, but two thin layers blend beautifully.
Then I use the stick like eyeliner by drawing it along the upper lash line, making it slightly thicker toward the outer corner, and I blend the edge with my finger or a small brush. This creates a soft smoky liner that instantly makes the look more evening-ready.
If I want extra drama, I add a touch of the stick to the lower lash line and blend, and then I finish with mascara.
The Dinner Finish
If you want this to look more “done,” keep the inner corner clean and lighter, and keep the outer corner deeper. That contrast makes your eyes look lifted and more defined, and it photographs well without looking harsh.
The One Trick That Makes All Three Looks Look Better
The best trick is to blend the edges upward and slightly outward, because it lifts the eye and makes everything look intentional. Even if the look is simple, a lifted blend makes it look like you planned it, and it keeps the shadow from looking like a stripe on your lid.
I also like to keep the lid slightly more luminous than the crease area, because it creates dimension without needing multiple products.
Final Thoughts
If you want eye makeup that fits real life, one eyeshadow stick is honestly the easiest upgrade, because it is fast, forgiving, and adaptable. The work look keeps you polished, the errands look keeps you fresh and heat-friendly, and the dinner look gives you that little extra drama without needing a whole makeup bag.
Once you get used to the placement and blending, you will be able to do these on autopilot, and that is the dream for busy days.