The $20 “Put-Together” Beauty Routine I Use When I’m Broke but Still Have Plans
There was a week in Austin where my bank account and my calendar were in a full-on argument, because money was tight in that annoying, quiet way where nothing is technically “wrong,” but every purchase feels personal.
I had a full-time job, a couple side hustle things going on, and a string of plans that were not optional in the way that matters, meaning they were the kind of plans where you show up or you feel like you’re letting someone down.
I didn’t want to shop, I didn’t want to do a complicated routine, and I definitely didn’t want to look in the mirror and feel worse, so I did what I always do when life gets loud and money gets tight.
I built a simple routine that makes me look awake, healthy, and pulled together, using only cheap products that actually perform and a few little tricks that make everything look more intentional than it is.
This routine is also the one I reach for when I’m trying to feel like myself again, because looking put together is not about vanity for me. It’s about giving my brain a tiny win, especially when everything else feels like a lot.
What This Routine Is And What It Isn’t
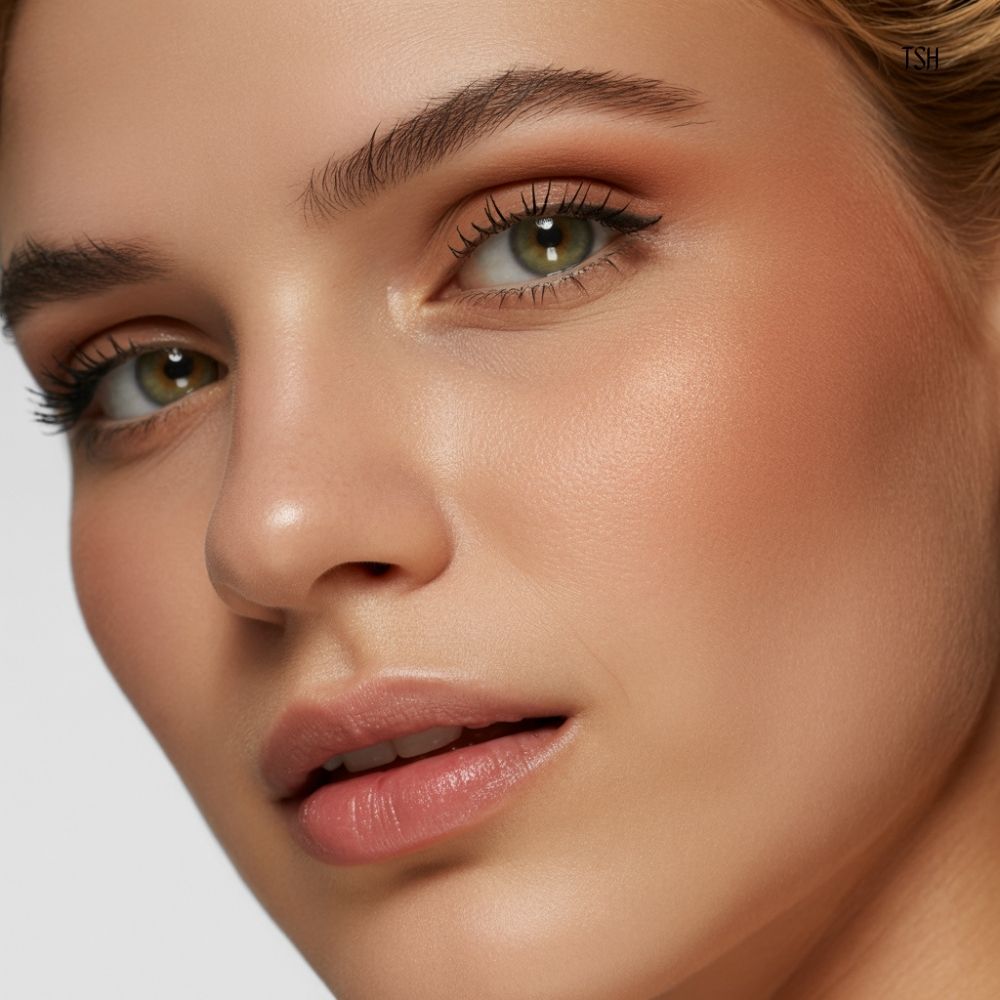
This is a “look alive and healthy” routine, not a “transform into a different person” routine. It’s for the days when you have plans, you don’t have extra cash, and you still want to show up feeling decent.
It focuses on three things that make the biggest difference fast: even-looking skin, bright eyes, and a little color in the face and lips.
It also assumes you are not buying a whole new makeup bag. The goal is either using what you already have or buying one or two cheap items that can do multiple jobs, because the fastest way to blow a budget is buying separate products for every step.
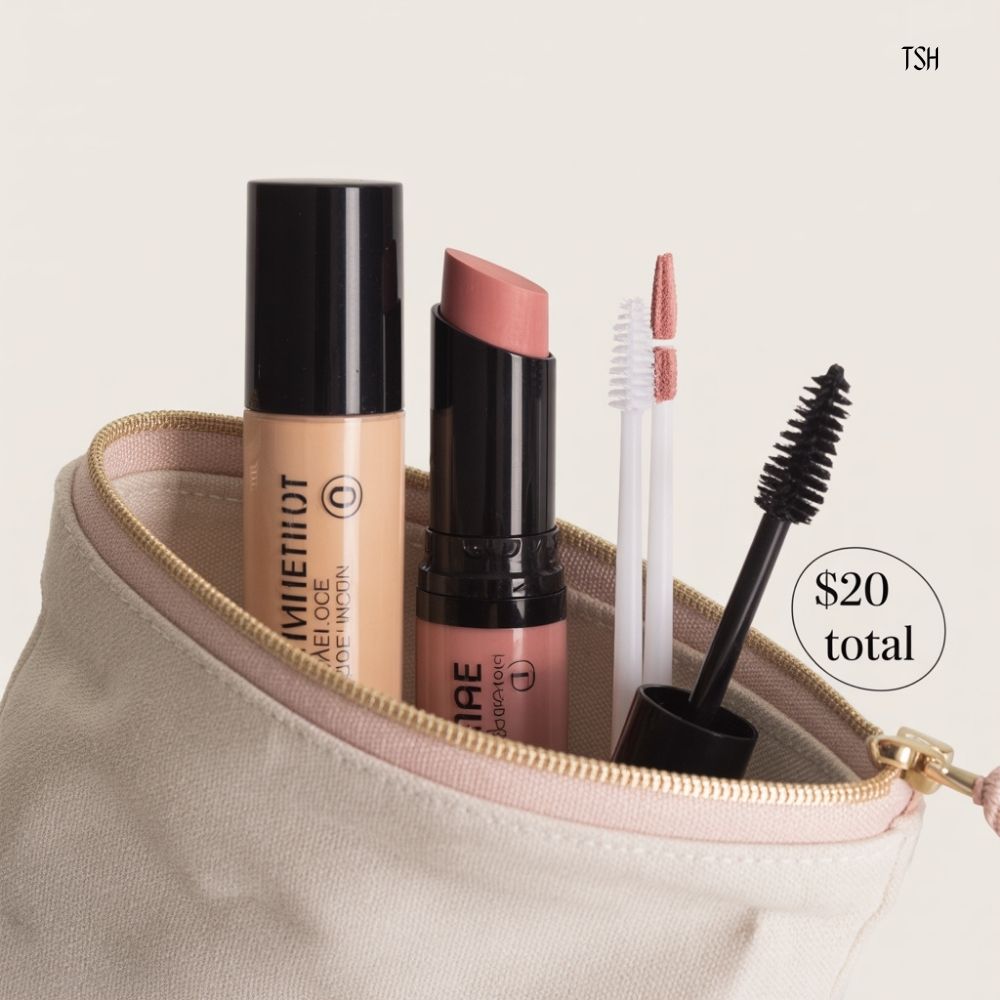
The $20 Rule: You Only Need a Few Multipurpose Items
If I’m building this routine from scratch, I keep it to three categories:
- One base product that evens things out
- One multi-use color for cheeks and lips
- One “wake up” product for eyes (mascara or brow gel)
Everything else is optional and should be something you already own, like moisturizer, sunscreen, or a little concealer.
Because the truth is, the “put together” look comes more from placement and finish than from having ten products.
My Exact Budget Product Picks
Prices vary by store and sales, but these are consistently cheap and easy to find.
Base: Skin Tint or Light Foundation
- e.l.f. Flawless Finish Foundation (cheap, reliable, easy to blend)
- Wet n Wild Bare Focus Tinted Hydrator (if you want more “skin” and less makeup)
Concealer (Optional, but helpful)
- e.l.f. Hydrating Camo Concealer (a little goes a long way)
Cheek + Lip Color (This is the star)
- e.l.f. Monochromatic Multi Stick or e.l.f. Putty Blush
- Wet n Wild MegaGlo Makeup Stick (works as blush, sometimes lips depending on shade)
Mascara (Biggest impact for the least money)
- Essence Lash Princess Mascara
- Maybelline Great Lash (classic for a reason)
Brows (Optional but instantly polished)
- e.l.f. Wow Brow Gel or a clear brow gel
If you don’t have brow gel, a tiny bit of hair gel on a spoolie works in a pinch.
Lips (Optional if you use the cheek product)
- Aquaphor or Vaseline (glossy “healthy” lips, no extra cost)
If you buy only two items, I’d pick a multi-use blush stick and a mascara, because those two do the most heavy lifting for “put together” energy.
Charlie’s “Broke but Busy” Routine
Step 1: Skin Prep That Makes Cheap Makeup Look Better
This is where people skip and then blame the product, so I’m going to be annoying and tell you the truth. If your skin is dry or textured, even expensive foundation can look rough, so on a budget, skin prep matters even more.
I wash my face or at least rinse it, then I do a basic moisturizer and sunscreen if it’s daytime, because sunscreen doubles as a smoothing layer. If my skin is looking dull, I press in a tiny bit of moisturizer and wait thirty seconds before makeup.
If I’m oily, I keep prep light and focus on moisturizing only the drier parts, like around the mouth.
Step 2: Light Base, Only Where You Need It
I don’t apply foundation everywhere when I’m trying to look natural and fast. I apply it where my skin looks uneven, usually around my nose, cheeks, and chin, and then I blend outward so it fades into my natural skin. This makes it look like you have good skin instead of like you’re wearing makeup.
I blend with fingers a lot because fingers warm up product and make it melt in, and also because I’m not washing a sponge when I’m broke and annoyed, and that’s just real.
Step 3: Conceal Only Two Areas
If I use concealer, I keep it to two spots: under the eyes, only in the inner corner and the darkest area, and around the nose if it’s red. Then I tap it out, and I don’t over-apply, because heavy concealer is the fastest way to look tired and cakey.
If you want the biggest “awake” effect, keep your concealer closer to the inner corner and blend outward gently, because that lifts the face without needing a full glam moment.
Step 4: The Multipurpose Blush Trick That Makes People Think You’re Healthy
This is the step that changes everything, and it’s also the step people underdo because they’re scared of blush. When money is tight, blush is your best friend, because it makes you look like you slept, drank water, and have your life together, even if none of that is true.
I use a cream blush stick or putty blush and tap it on the high part of my cheeks, then I blend it slightly upward toward my temples. That lift is what makes it look intentional.
Then I take whatever is left on my fingers and tap a tiny bit on my eyelids, because it ties the whole face together and looks like a soft, expensive “monochrome” look without extra products.
If you want the most natural look, do the blush before powder, and blend with fingers.
Step 5: Mascara, But Only One Layer Done Right
Mascara is the fastest way to look more awake, but I keep it simple. I curl my lashes if I have the energy, then I do one solid coat, focusing on the outer lashes a little more. That tiny emphasis makes your eyes look lifted, which reads as “put together” instantly.
If mascara smudges on you, a trick that helps is dusting a tiny bit of powder under your eyes before you apply mascara, because it reduces transfer, especially in humidity.
Step 6: Brows That Look Effortless, Not Drawn On
If I have brow gel, I brush my brows up and slightly out, then I stop. I don’t overfill them. Brows look best on a budget when they look like brows, not like a sharpie situation.
If you don’t have brow gel, you can use a tiny amount of hair gel on a clean spoolie or even a clean toothbrush, and it does the same job.
Step 7: Lips That Look Like You’re Naturally This Pretty
I tap a little of the same blush on my lips, then I top with Aquaphor or Vaseline. It looks like a tinted balm, it feels comfortable, and it makes your whole face look more finished.
If you already have a nude liner, lining just the center of the lips and blending inward makes lips look fuller without needing lipstick, but it’s optional.
Step 8: One Tiny Finishing Touch
If I have it, I add a little highlight on the tops of my cheeks, but not a blinding stripe, more like a “skin has life” sheen. If I don’t have highlight, I press a tiny bit of moisturizer on the high points, and it gives the same glow.
This step takes five seconds and makes it look like you tried.
Final Thoughts
If you’re in a tight-money week but life keeps happening, this routine is your permission slip to keep it simple and still feel cute. You do not need a shopping spree.
You need a multipurpose color, a little evening-out for the skin, and one eye product that makes you look awake, plus a few small tricks that make everything look intentional.
If you tell me what you already have in your makeup bag, even if it’s random, I can build you a true $20-or-less version of this routine using your exact products, so you don’t buy anything you don’t need.