The 7-Minute Morning Face That Makes Me Look Awake (Even When I’m Not)
Mornings can feel like a speed-run you did not sign up for, especially when you wake up already thinking about work, errands, texts you forgot to answer, and the weirdly aggressive way your calendar stacks plans on the exact day you wanted to do nothing.
I used to believe the solution was more makeup and more steps, and I also used to believe I would become a person who wakes up early on purpose, so let us all take a quiet moment to appreciate how optimistic I was back then.
Now I do something much simpler, because I needed a routine that makes me look awake in a way that still looks like me, takes seven minutes without fail, and holds up in real-life Texas heat without melting off the second I step outside.
This is the routine I reach for on busy weekdays, on mornings when I slept fine but my face did not get the memo, and on days when I want that “put together” feeling without committing to a full glam situation.
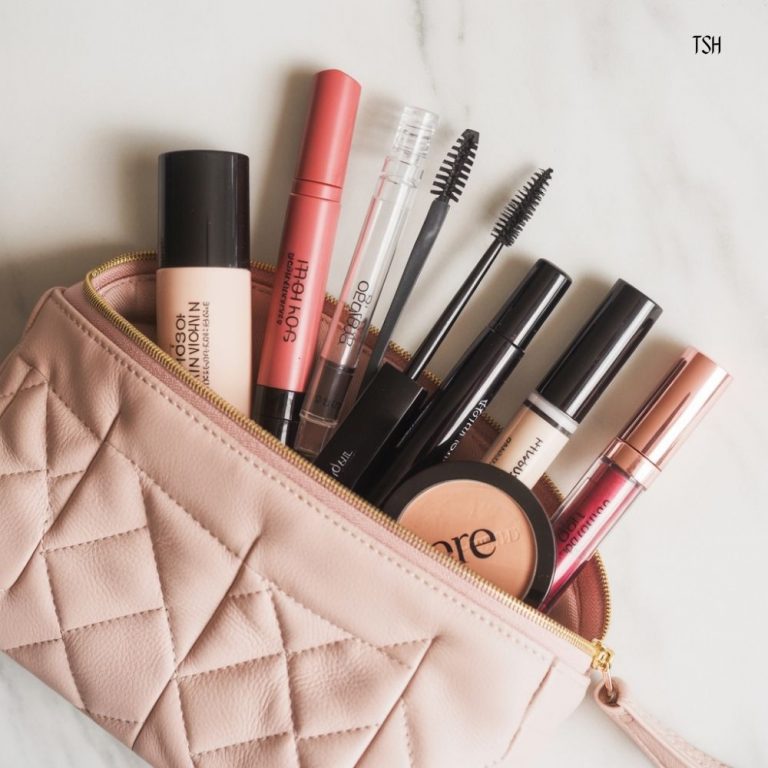
What You’ll Need
You can absolutely do this with what you already own, but a few small tools make it faster and smoother, especially on sleepy mornings when your hands are not cooperating.
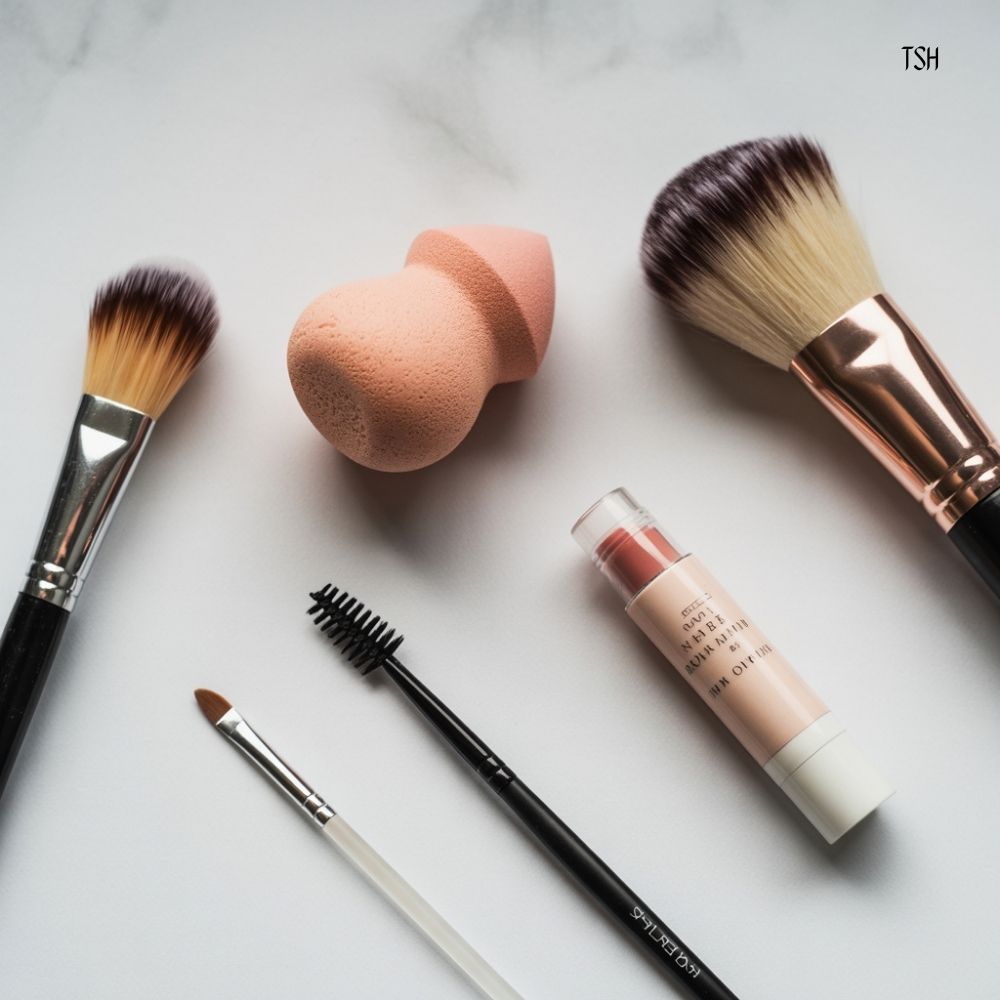
Tools
- A damp sponge or a dense foundation brush, depending on what you like
- A fluffy brush for powder or bronzer, if you use it
- A spoolie for brows, or any brush that came with your brow product
- Lip balm, because it is the quickest “I’m alive” upgrade you can buy
If you are more of a fingers-only person, you are still completely fine, because this routine is mostly creams and quick blending, and your hands are honestly the most forgiving tool on days when you are rushing.
The 7-Minute Morning Face
Minute 1: Wake Up Your Skin Without Overthinking It
I keep the skincare part simple because I am not trying to become a different person at 7 a.m., and I also do not want to put on makeup over skin that feels dry or tight, since that is a guaranteed way to make everything look patchy.
I either cleanse quickly or rinse with water, then I apply moisturizer and give it a moment to settle while I do something else that needs doing, like brushing my teeth, pulling my hair back, or checking the weather so I dress like someone who lives in the real world.
Charlie tip that actually helps: after moisturizer, I wait about twenty seconds before going in with makeup, because that tiny pause makes concealer blend smoother and helps products sit better instead of sliding around.
Minute 2: SPF or Primer, and You Only Need One
If I am leaving the house, I use SPF because I am not playing with sun damage, and if I am staying inside but I know I get shiny fast, I use a primer in my T-zone and keep everything else light.
If you can only commit to one thing, choose SPF and then keep the rest of your base thin, because the “awake” look comes from brightening and evening out, not from layering.
When it is hot out, I prefer a lightweight sunscreen because heavy formulas can make your makeup feel like it is slowly skating down your face, and I refuse to spend my day wondering what my forehead is doing.
Minute 3: Targeted Concealer for the “Rested” Illusion
This is where I used to lose time, because I would try to do full foundation and then fix it and then fix the fix. Now I skip full foundation and use concealer only where it makes me look more awake.
My exact placement
- Inner corner and darkest part under the eyes, not all the way across
- Around the sides of the nose where redness tends to hang out
- Any spots or discoloration that are stealing the show
- A tiny dot on the center of the forehead if I look dull
Then I blend quickly with a sponge, brush, or fingers, and I stop the second it looks evened out. If you like a little more overall coverage, a skin tint can work here, but I keep it sheer so the routine stays fast and comfortable.
Practical hack: if your under-eye concealer keeps creasing, you might be using too much product, and it can be surprisingly effective to use half as much and blend it higher, because it looks smoother and more natural.
Minute 4: Cream Blush, Because This Is the Actual Secret
If I had to keep only one makeup step in this whole routine, it would be blush. Because blush makes your face look alive in a way bronzer and contour simply do not. I use a cream blush because it blends fast, looks like skin, and gives that “I slept and I drank water” vibe.
I tap it on the apples of my cheeks and blend upward toward my temples. On days I want extra freshness, I tap a tiny bit across the bridge of my nose, but I skip that if my face runs red easily, because I want “fresh,” not “sunburn cosplay.”
Minute 5: Brows That Look Intentional, Not Intimidating
I used to overdo my brows and then wonder why the rest of my face looked unfinished, which is like wearing a ballgown with gym socks, and it is not the vibe for a random Tuesday.
Now I brush them up and fill sparse spots lightly with a pencil, then I run tinted brow gel through them so they stay put without looking harsh.
If you are rushed, tinted gel alone can be enough, because it adds color, shape, and hold in one step, and that is the kind of multitasking I can support.
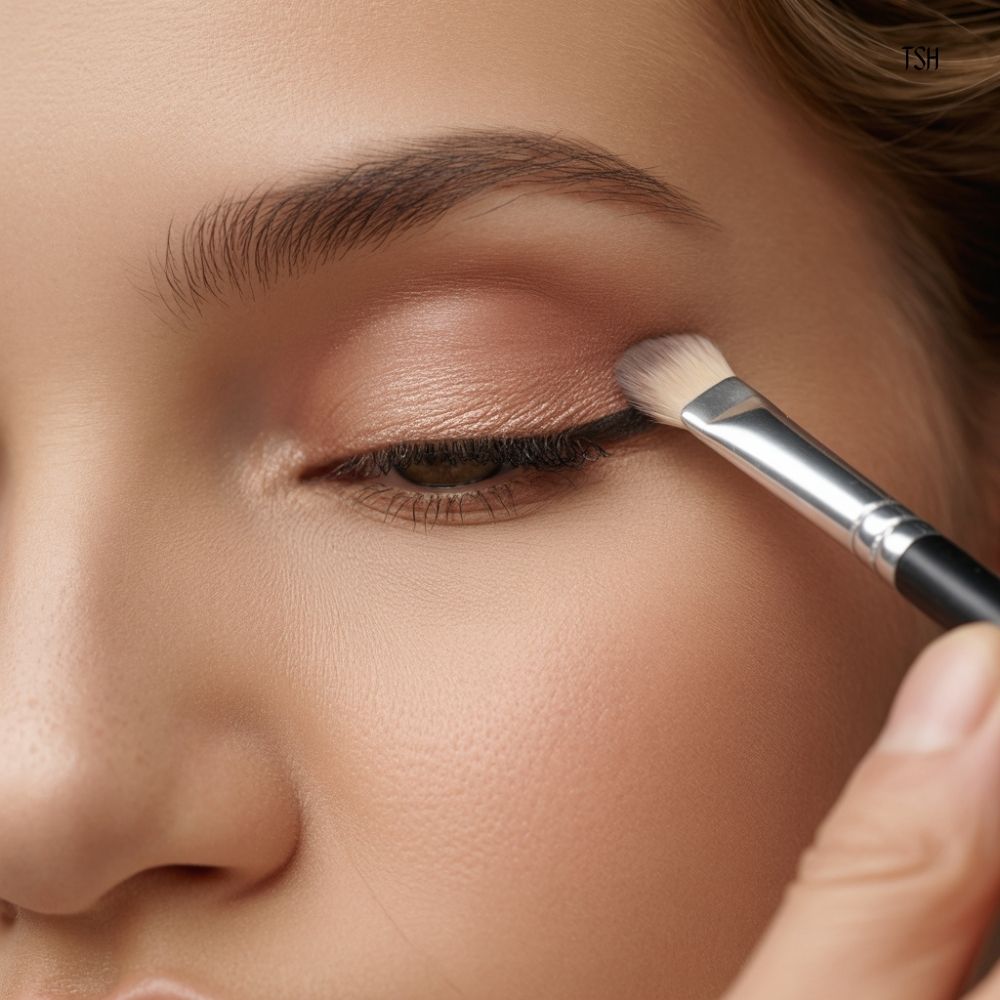
Minute 6: Eyes That Look Open and Awake
This step is all about opening up the eye area without adding anything that smudges or takes forever. When I have time, I curl my lashes because it makes a bigger difference than you would expect, then I do one coat of mascara, focusing on the outer lashes for a lifted look.
If my eyes look extra tired, I tap a touch of concealer at the inner corners, and if I want a little more polish, I sweep a neutral cream shadow or even a little bronzer across the lids for warmth, which makes the whole face look more balanced with basically zero effort.
Tiny lift trick: a small dot of concealer at the outer corner, blended slightly upward, can subtly lift the eye area without looking like makeup, and it is a nice option when you want to look brighter without doing a full eye look.
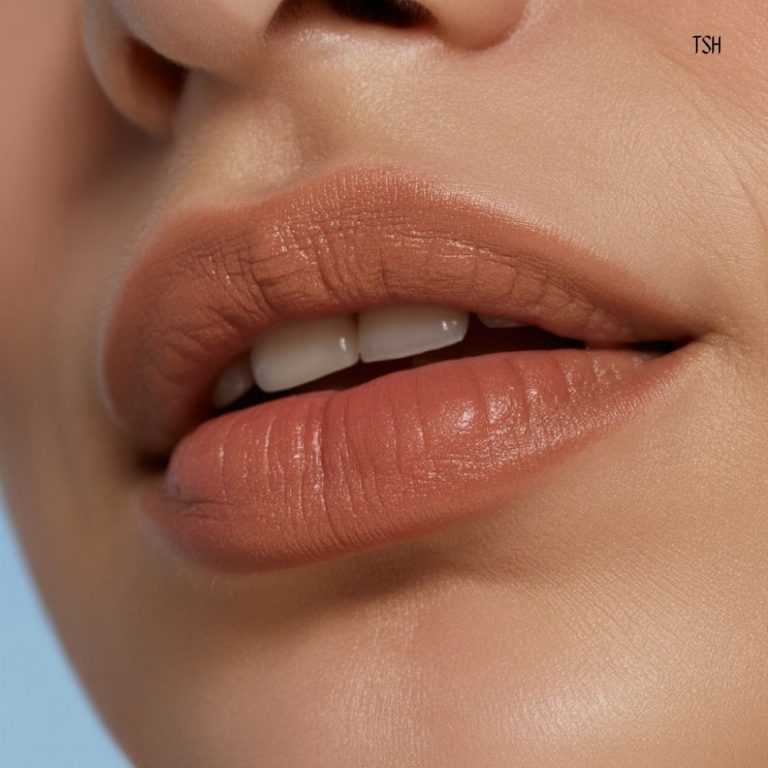
Minute 7: Set Strategically and Add a Lip That Makes You Look Finished
I am very picky about powder because too much can make your skin look flat and tired, which is the opposite of our mission. I set only the areas that get shiny or crease on me, which is usually around my nose, a light touch under the eyes, and sometimes the center of the forehead.
Then I do lip balm or a tinted balm, because that step makes you look done even if you kept everything else minimal, and it takes three seconds, which is my favorite kind of product.
If you want a quick monochrome moment, tapping a bit of your cream blush onto your lips can pull everything together in a very “effortless but cute” way.
Mistakes That Used to Make Me Late (So You Don’t Have To)
I used to waste time trying to perfect full foundation in bathroom lighting that absolutely cannot be trusted, and I also used to pile on under-eye concealer as if more product automatically meant more sleep, which is sadly not how life works.
I would skip blush and then wonder why my face looked washed out, I would overdo brows and then feel like I needed more makeup to match them, and I would powder everything and then spend the rest of the day feeling dry and flat.
Learning to keep it light and targeted was the biggest glow-up for both my face and my schedule.
Final Thoughts
This routine works because it respects real life, and it gives you the benefits that matter most, like brighter eyes, healthier-looking skin, and that subtle “I’m on top of it” vibe, without stealing your time or requiring you to buy a million things.
If you try it, make it yours, because the best routine is the one you will actually repeat on a random Tuesday when you are tired and busy.
If you tell me what your biggest “I look exhausted” issue is, like under-eye darkness, redness, dullness, puffiness, or oiliness, I can tweak this into a version that targets your exact problem while still staying in that seven-minute lane.